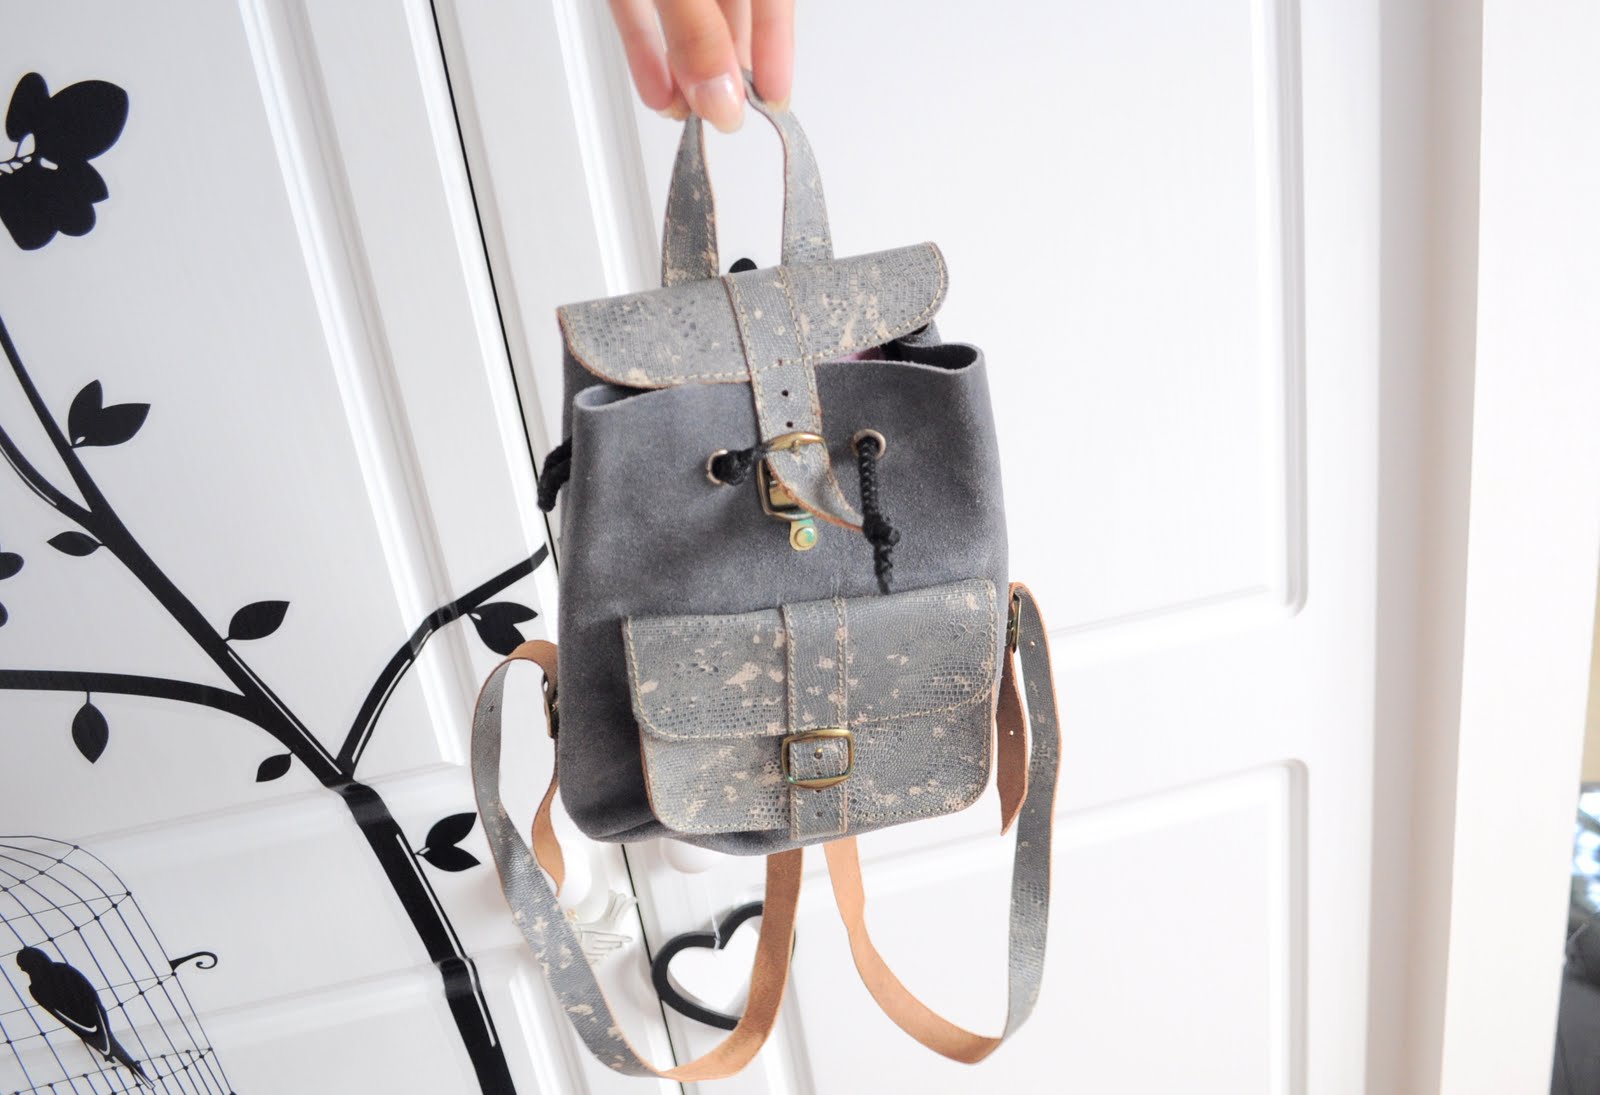
As some of you may know, I'm an avid eBay-er. I'm always on there, attempting to find a bargain. I've been thinking a lot about Reading Festival lately and decided that I just needed a rucksack, because in past years I've taken a shoulder bag or something and they get painful after a while and don't distribute the weight evenly, unlike rucksacks. I bought this baby off eBay for £15.50 including postage. It's quite a large amount for such a small thing but it's a one-off vintage, quality item and I'm pretty sure no one at the festival will have the same! It'll also enable me to bring around my essentials, such as a camera, phone, money and a drink etc, without my shoulder feeling like it's about to fall off at the end of the day, can't wait until August 23rd!
love amy x
Tuesday, 9 August 2011
Monday, 8 August 2011
Birthday Boy
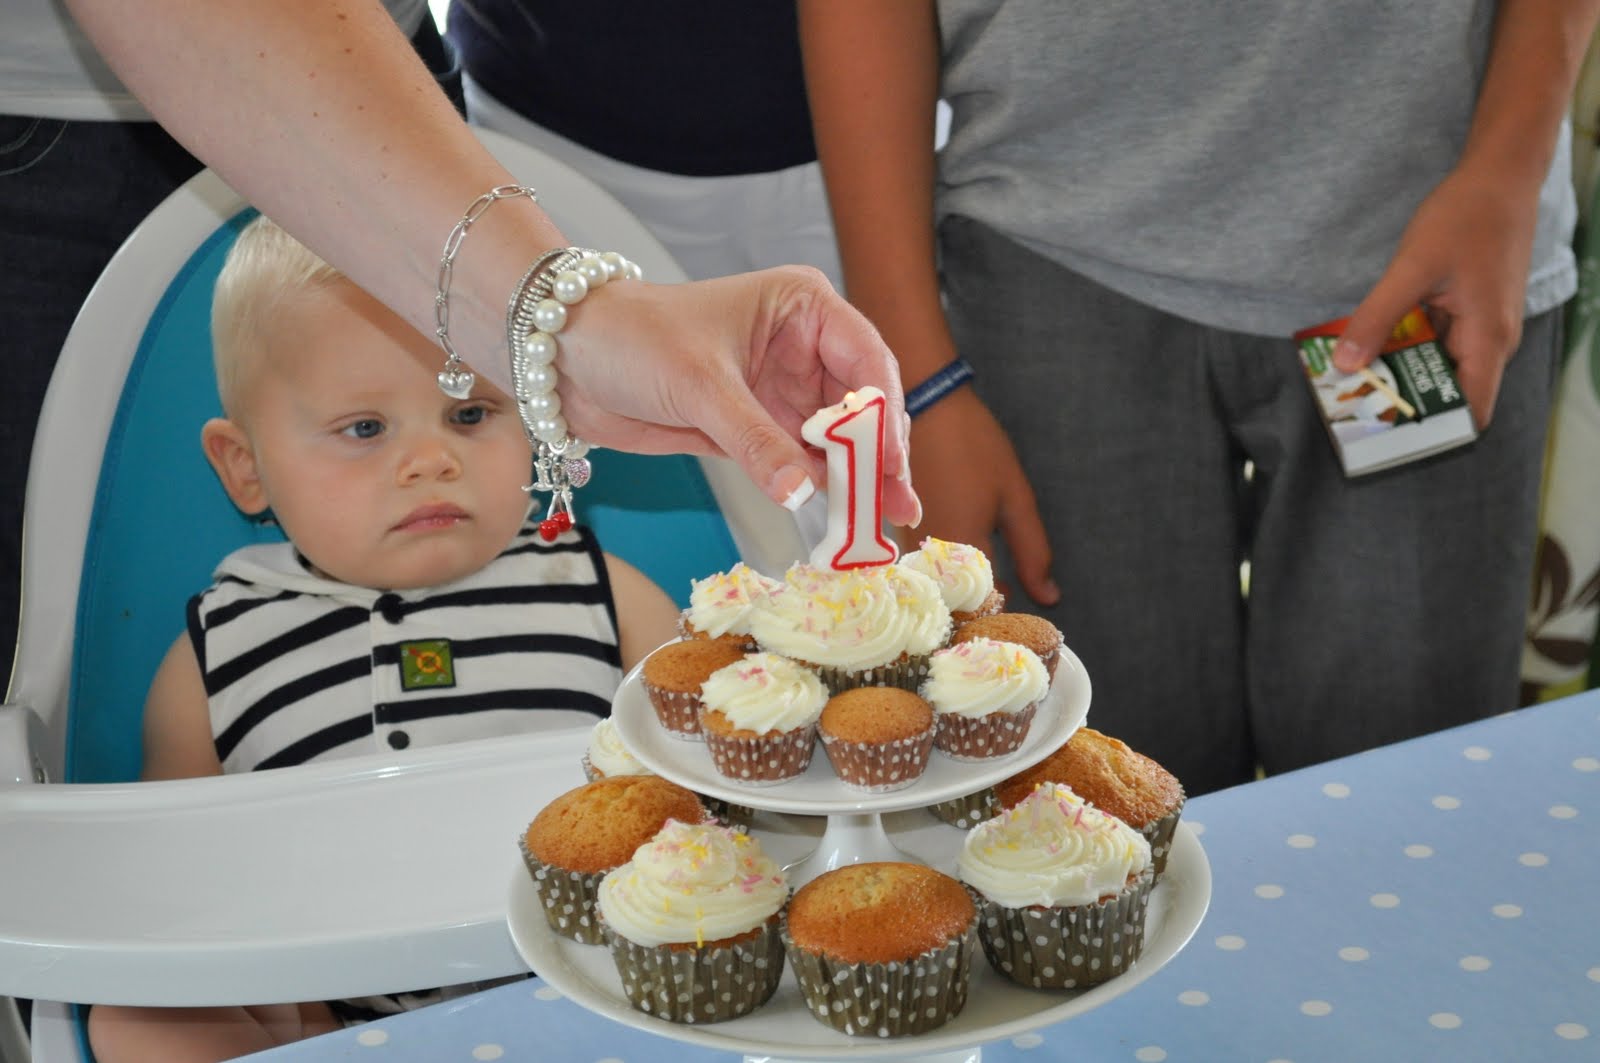
I tried not to do much of a picture overload with this post as it's not really the kind of thing I blog about that often, but I kinda wanted to share anyway. My baby brother, Freddie, turned one on the 6th (this Saturday just gone) so happy birthday lil' bro!
love amy x
Sunday, 7 August 2011
Sunday Summary Week 13
1/ Reading festival tickets came!
2/ My friend Gabe's tortoise, Oswald
3/ Bought these amazing trousers from Oxfam, making them into shorts!
4/ I needed a lift to the train station but there were no seats, in the boot I go...
5/ Freddie's first birthday!
6/ The dessert table
Things I loved this week:
1/ Learning about lucid dreaming here. Definitely want to try it.
2/ Charliet's blog, she has some incredible clothes and is generally really cool!
3/ Blink 182's new song, 'Heart's All Gone'
2/ My friend Gabe's tortoise, Oswald
3/ Bought these amazing trousers from Oxfam, making them into shorts!
4/ I needed a lift to the train station but there were no seats, in the boot I go...
5/ Freddie's first birthday!
6/ The dessert table
Things I loved this week:
1/ Learning about lucid dreaming here. Definitely want to try it.
2/ Charliet's blog, she has some incredible clothes and is generally really cool!
3/ Blink 182's new song, 'Heart's All Gone'
I can't really think of that much to write, despite having a pretty good week. I've been out of the house a little more and I've been working hard on my business which I will be revealing properly soon! Otherwise, I apologise for being so vacant recently, I've been really preoccupied and not really paying attention to my blog, not being motivated to write any quality posts. I'll try to keep up though, and perhaps I'll post something worthwhile soon!
love amy x
love amy x
Friday, 5 August 2011
Plush Kitty DIY
I've been meaning to do a DIY post for quite a while now, and I've finally got round to it! It's how to make a simple plush toy kitten! My inspiration comes from Lyzi from Being Little as she made some a while back and at the time I was busy, but now as I have a load of spare time I was able to get round to making my own. It's a really easy DIY so fine for beginner sewers and it's really quick, taking me just over an hour ish. The equipment list says you need stuffing, but my mum has been collecting the linty fluffy stuff you get in your dryer that you have to empty for a while so she can make a toy for my baby brother, so that's a cheaper way to stuff your toy. I put lavender in mine so it smells yummy, but you can skip this step if you want to.
You will need:
1/ Cute fabric of your choice, size depending on how big you want the kitty (easier if it's not stretchy)
2/ Scissors
3/ Needle & thread, colour depending on fabric colour
4/ Contrasting thread (for features)
5/ Stuffing (or in my case, dryer lint)
6/ Lavender (optional)
______________________________________________________________________________________________
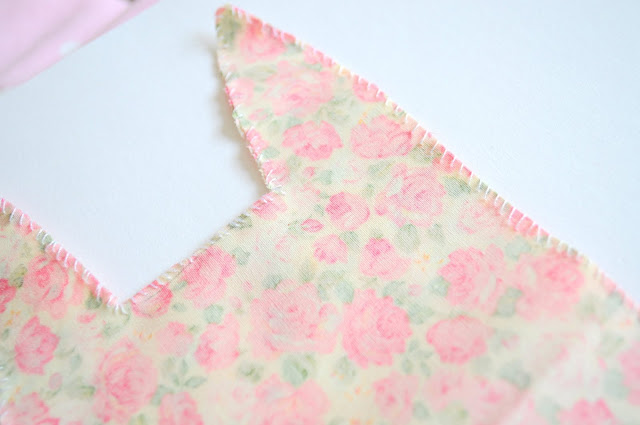
STEP ONE: Fold your fabric in half with the underside of the fabric (often the paler part) facing outwards. Pin the two layers together so they don't move and draw on the design with a pencil. Cut out the shape (remember to leave a seam allowance).
You will need:
1/ Cute fabric of your choice, size depending on how big you want the kitty (easier if it's not stretchy)
2/ Scissors
3/ Needle & thread, colour depending on fabric colour
4/ Contrasting thread (for features)
5/ Stuffing (or in my case, dryer lint)
6/ Lavender (optional)
______________________________________________________________________________________________
STEP ONE: Fold your fabric in half with the underside of the fabric (often the paler part) facing outwards. Pin the two layers together so they don't move and draw on the design with a pencil. Cut out the shape (remember to leave a seam allowance).
STEP THREE: Using the small gap you didn't sew, turn your shape inside out. You should then have a nice clean seam, and fabric is the right side out.
STEP FOUR: Get your lavender and place on your palm and rub your palms together. This will help release the smell and separate the little pods from the stem so you can put them in the kitty with the stuffing. Discard the stems.
STEP FIVE: Start to stuff the kitty, starting with it's limbs. Make sure you push the stuffing in really tight, or the kitty will be all floppy.
STEP SIX: Stuff the rest of the body and sew up the gap you left.
STEP SEVEN: Using the contrasting coloured cotton, stitch on the eyes and nose.
Now you should have an adorable little plush kitty! If you do try this DIY out, let me know, I'd love to see your creations!
love amy x
Wednesday, 3 August 2011
Nude Nails
I went to the salon the other day to get my nails done (I have acrylic nails) and I decided that I wanted a light colour to emphasize my tan (haha) so I picked this light pink by OPI. Unfortunately I don't have the bottle as it belongs to the salon, but the salon only ever puts two coats of nail varnish on, so the colour didn't stand out as much as I wanted. However, I'd been watching some tutorials online on how to marble nails and when I got home I tried it out. I used a few colours, mostly nude pinks and a white to help differentiate between colours and I was really pleased with the result! I'll be sure to post a tutorial or something next time I try it, as the combinations are infinite and it's a really effective way to change up your nails if you don't have the time to do proper nail art!
love amy x
Subscribe to:
Posts (Atom)
© Amy Valentine. All rights reserved.