Showing posts with label nails. Show all posts

Saturday, 28 June 2014

NAILS // Pool Party

RING // H&M
NAILS // OPI TEAL THE COWS GO HOME
NAIL CHARM* // HEX

With all this sunny weather we're having at the moment I thought I'd make my nails bright and tropical so opted for this bright blue when I last went to the nail salon (I get acrylics if you're wondering - please excuse how grown out they are!).  I can't actually remember the colour I got, but I've linked one that's very similar if you want to get the look.  The glitter was another nail varnish overlaid which I couldn't find but this Deborah Lipmann colour is quite close.  I finished off with a Hex nail charm on each hand, which is one of the easiest ways to add nail art without spending ages doing your nails, plus they look so unique - definitely one of my fave things at the moment!
AMY X
SHARE:

Friday, 25 October 2013

SCRATCH Nails Neon Speckle Nail Wraps


For a short period of time not long ago I was stupidly obsessed with nail art, trying marbling, nail art pens and even nail wraps, but I just don't have the time anymore!  I was recently contacted by SCRATCH Nails about some nail wraps and thought I'd give it a go as they do some absolutely gorgeous designs, and every month they feature a different artists designs.  They have some seriously cool wraps at the moment designed by Britney Tokyo, the Shibuya Fresh being my favourite!

As I said above, I have tried nail wraps before from Nail Rock and they actually turned out terribly - bubbles everywhere and they just didn't stay flat, and seeing as I get acrylic overlays I didn't think these would work.  As you can see they went on absolutely fine and I'm so happy with how they turned out, it took half an hour ish to do while watching the Great British Bakeoff finale and the best part - no waiting for your nails to dry!  I love the designs and I can't wait to try out my other wraps, I'll be sure to keep you guys updated!
love amy x
SHARE:

Friday, 26 July 2013

Ladybird Nail Varnish by Northern Sky Nails

Ladybird nail varnish* // Northern Sky Nails

As I've featured the shop quite a few times on my blog I'm sure you may now have heard of Northern Sky Nails.  I reviewed my pink nail varnish from them which you can read here and this is just a post about the other one I received!  It's a true red colour with black sequins in it so I had a ton of people saying I had ladybird nails!  I think next time I use this colour I'll use some black for an accent nail to actually be a teeny ladybird.  This formula was pretty much the same as the other so if you would like to read the review click here.  I'll once again say that all Northern Sky Nail varnishes are handmade and if you contact Karen she'll be more than happy to create a custom colour especially for you!  What do you think of my ladybird nails? (:
love amy x
SHARE:

Tuesday, 9 July 2013

REVIEW // Northern Sky Nails

Custom Nail Varnish // Northern Sky Nails

You may have caught a glimpse of this nail varnish in a lot of my recent outfit posts but I haven't ever included a proper shot of my nails.  I get acrylic nails and when I had this colour on my nails they were in dire need of care so apologies for the scruffy state!  You may also notice the galaxy accent nails - these were painted at the Oh My Love event I went to not long ago by the lovely ladies at the Nail Girls stand, how I wish I could do it myself!

Anyway, onto the nail varnish!  I was kindly gifted this colour as well as another (which I'll feature in due time) and both shades are so lovely!  Each and every one is hand mixed by Karen and you can buy them in her shop, Northern Sky Nails.  This particular nail varnish was custom made for me but you can buy a similar shade here, or alternatively contact her for your own personal nail colour.

The nail polish is (clearly) a lovely bubblegum pink, chock full of pink, purple and turquoise glitter.  Because the formula is not professionally mixed, it does separate, with the glitter going to the bottom but to me this is not a problem; just a quick shake brings it to normal consistency.  I found the formula applied very smoothly, and only needed two coats for an opaque finish.  I cannot, however, comment on the lasting power of the polish, because I get acrylic nails therefore never experience chipping.  The one itty bitty thing that let me down, however, is that the glitter looked more like speckles rather than sparkly glitter, although this could just be down to my shoddy application.  Otherwise I am extremely impressed with the formula, especially as it's handmade and will definitely be wearing it a lot this summer.  If you would like to have a look at the Northern Sky Nails online shop click here - polishes start at £6.50 and as I said before, custom nail varnishes are more than welcome!
love amy x
SHARE:

Wednesday, 29 May 2013

Glitter Gradient Nails // Hey! Get in Lime!

As a bit of a filler post I wanted to show you guys my nails from a little while ago.  I painted them myself and they were actually really easy to do but look great!  I unfortunately couldn't find anywhere online to buy this nail lacquer as I think it's discontinued.  I also couldn't find a Topshop listing for the glitter polish alone (it's called Ice Crush from Topshop) but you can buy it in a set of three here! All you have to do is do a couple of coats of the base colour, and layer up the glitter, gradually spreading it out and finish with a top coat.  I got a lot of compliments and it's definitely my favourite nail art I've done for a while!
love amy x
SHARE:

Wednesday, 20 March 2013

Heart Nails // OPI The Spy Who Loved Me

Nail varnish // OPI The Spy Who Loved Me // Amazon £6.40

Just thought I'd do a quick post on my heart nails!  I actually got them done for Valentines day so I'm a bit late posting, but I received lots of compliments on them and it was my first time trying out more of a 'stiletto' shape with my nails.  I love the red colour, it's not as deep as other reds that I've tried before which I like, and although you can't see it in the photos it has a lovely shimmer to it!  I have acrylic nails so got the designs done in a salon, the hearts cost me £2 extra and in my opinion I could have done it better (the red is more like a 'V' then a curved, heart shape) so next time I'll just do it myself!  In reference to the stiletto shape, I get that they look pretty, but I found it so difficult to deal with the length!  I'm used to having short nails so I probably will stick to rounded tips in the future.
love amy x
SHARE:

Thursday, 21 February 2013

NAILS // Nude & Glitter

So I picked up this lovely multi-glitter nail varnish from Primark and I absolutely love it!  I wanted to keep things minimal so I painted on a pale nude-y pink base coat of OPI with the Primark glitter (both of which I don't have the name for!) and think it turned out really good, what do you think?
love amy x
SHARE:

Wednesday, 23 January 2013

Nails of the Month // Black & Gold

I no longer have my nails like this anymore because unfortunately the top coat started peeling, but this is how I had my nails over the beginning of the new year!  I went to a black & gold themed new years party so had them specially painted for the event (I get them done in a salon as I have acrylic overlays) and had them copy the lilac and silver nails I had back in September [link] and I really liked how they turned out, what do you think?
love amy x
SHARE:

Tuesday, 18 September 2012

ICE CRUSH


OPI 'Do you lilac it?' & Topshop 'Ice Crush'
I have acrylic nail overlays so get my nails done in a salon every month.  I wanted something different so I got a wee bit of nail art on my thumb!  I provided my own nail varnish, Topshop Ice Crush and OPI 'Do you lilac it?' (featured in a previous nail post here) and the salon had a silver nail art pen that they did the cross with.  I actually got them done like this before Reading festival in August (I just haven't had the time to blog about them) and I think they turned out really great and I received so many compliments on them! What do you think of nail art? Awesome or naff?
love amy x
SHARE:

Monday, 11 June 2012

Minty nails

Rings - Tatty Devine & Delilah Dust
I went to get my nails done today and thought I'd show you the colour! It's a complete contrast from the neon nails I had a little while ago but I do love the pastel trend so decided to go for something different.  I also won a Delilah Dust giveaway recently on Megan's blog Velvet Bows so I was over the moon, as the jewellery has been all over the blogosphere as of late!  I got the double ring set and can wear one as a normal ring and the other as a knuckle ring which are really trending lately so I think that's pretty cool.  My other ring I bought ages ago from a Tatty Devine stand at the Clothes Show Live, it's a mirror and I don't wear it as often as some of my other rings but I still love it!
love amy x
SHARE:

Tuesday, 1 May 2012

Neon Nails!


I went to the salon to get my nails done as they were getting totally out of hand, and were hideously grown out, and I'm loving the neon nails trend at the moment so went with a bright pink!  It's completely different to the colours I usually go for, as I prefer neutral tones or blacks, but this colour adds a little pop to all of my outfits and I'm really tempted to buy a ton more neon colours!
love amy x
SHARE:

Tuesday, 6 September 2011

INK


I don't normally paint my own nails, as I get them done in the salon because I have the acrylic overlays, but I was getting mega bored with the silver glittery stuff, which was rubbing off anyway so I painted them.  The colour is the purpley OPI Ink colour, which I love, because it changes colour all the time, ranging from blue, to purple to black, so I always get comments when I have it on.  You can also see the tiny little sparkles in it too, so it's not just a boring block colour.  It's pretty hard to photograph, so the pictures don't do much justice, but you can kind of see it in some!
love amy x
SHARE:

Tuesday, 16 August 2011

Marble Nails Tutorial

Heya! So a little while ago I posted about my nude nails, with a marbled ring finger on each hand.  This is the post where I'll show you how to do it for yourself!  Now may I remind you, I'm no expert at this, only having done it twice so mine didn't turn out perfect, it's just really guidelines so you know how to do it!

YOU WILL NEED:
- glass of filtered water  (bottled water) filled nearly to the top.
- Orange stick/toothpick (I used a golf tee!)
- Top coat
- Sellotape
- Kitchen roll
- Nail varnishes you want to marble (at least two)


STEP ONE: Cover the skin surrounding your nails in sellotape, so you don't get nail varnish all over your fingers.


STEP TWO: Drip your nail varnish onto the top the water.  They should spread out quite quickly when they hit the surface.  Alternate dripping between the colours, building up a bullseye, as shown below.  (Doesn't the third picture look like a crazy guinea pig??) Make sure you do this quickly, so that the nail varnish doesn't dry, in which case the nail varnish will not swirl.


STEP THREE: Use your orange stick (golf tee in my situation) to marble the nail varnish.  To do this, draw simple lines very lightly across the surface.  If the nail varnish is not dry, it will obey.  In this situation, just take off the existing layer and try again.

STEP FOUR: Dunk your nail(s) in to the water, making sure your nails hit the surface flat.  Make them go quite deep under the surface so that none of the excess nail varnish sticks too.

STEP FIVE:  Let the nails set for a bit, then gently peel off the sellotape, using an ear bud and nail varnish remover to get rid of any varnish on the skin.  Lastly, paint on a layer of top coat and voila! Marbled nails!
Hope you liked my feeble attempt at a tutorial, thanks for reading!
love amy x
SHARE:

Wednesday, 3 August 2011

Nude Nails


I went to the salon the other day to get my nails done (I have acrylic nails) and I decided that I wanted a light colour to emphasize my tan (haha) so I picked this light pink by OPI.  Unfortunately I don't have the bottle as it belongs to the salon, but the salon only ever puts two coats of nail varnish on, so the colour didn't stand out as much as I wanted.  However, I'd been watching some tutorials online on how to marble nails and when I got home I tried it out.  I used a few colours, mostly nude pinks and a white to help differentiate between colours and I was really pleased with the result!  I'll be sure to post a tutorial or something next time I try it, as the combinations are infinite and it's a really effective way to change up your nails if you don't have the time to do proper nail art!
love amy x
SHARE:

Wednesday, 8 June 2011

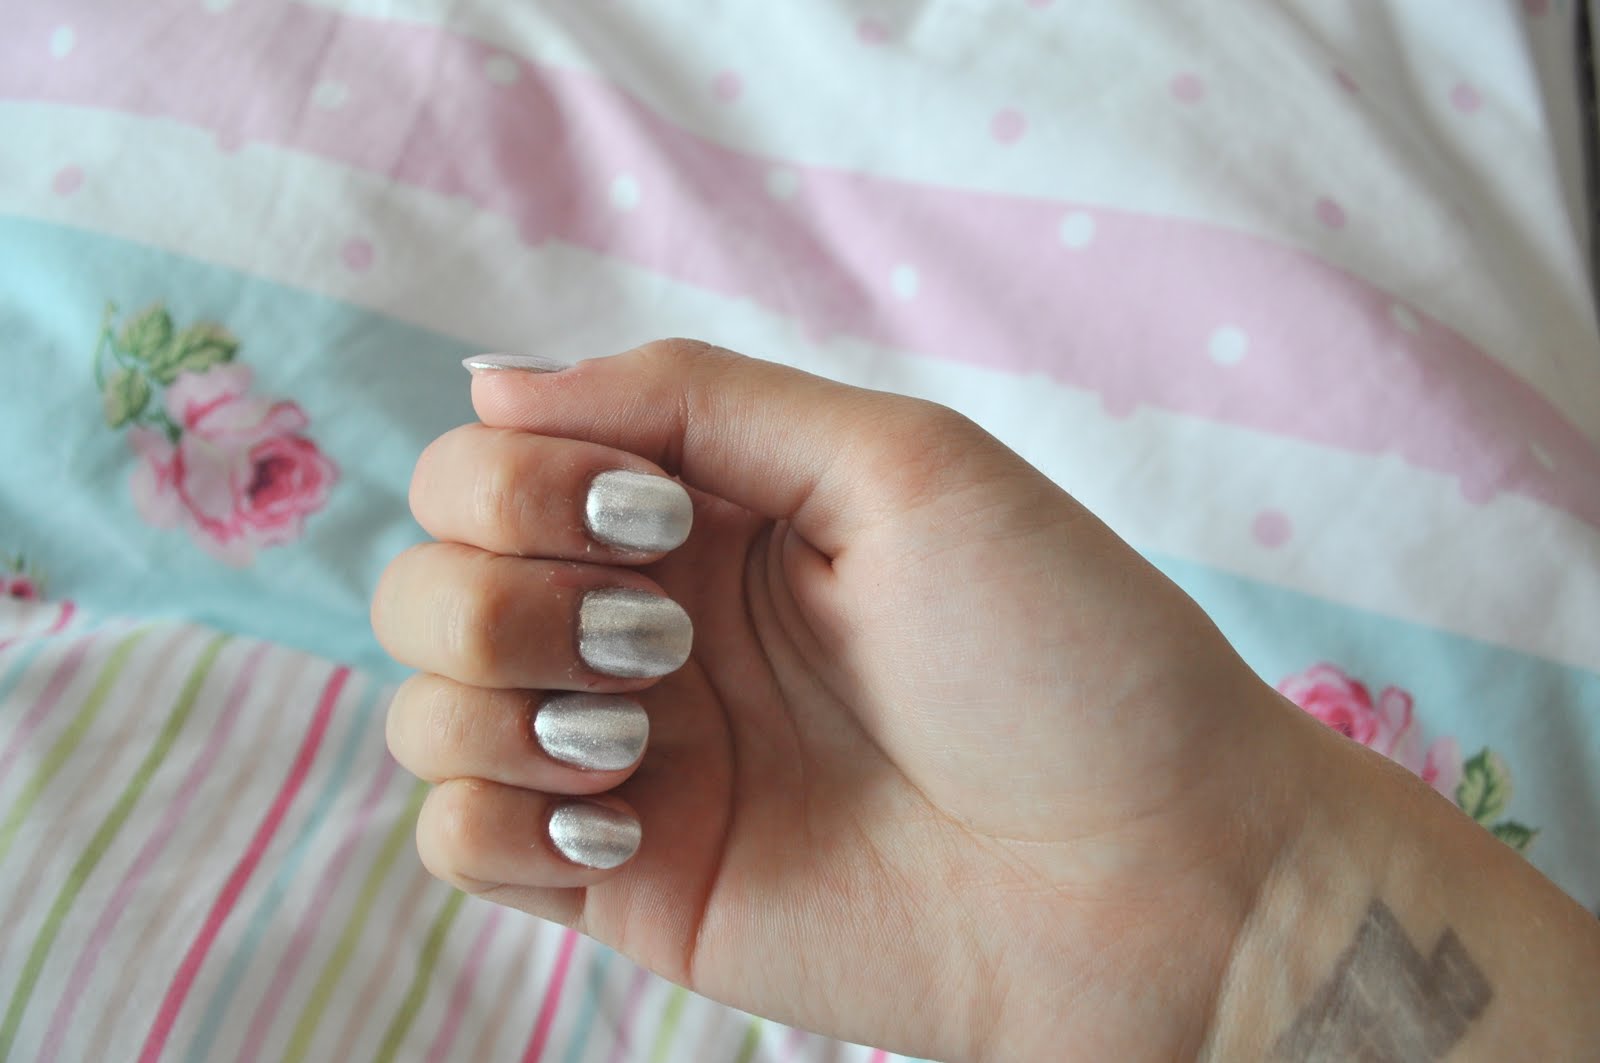
SILVER


My nails were getting pretty bad, so I went to the salon to get them redone (I have acrylic nails).  I had to have a complete soak-off as they were getting all damaged and skanky. It's the longest process, I had to sit in the place for over an hour and a half!  It's worth it though, as your nails look so good afterwards (apart from I'm not really too sure about the shape this time, they made them all stubby and square) and because the nails are stable and completely hardened, unlike real nails which are naturally able to bend, your nail varnish never chips, so I never have to worry about that!  I decided I'd go a little different from the usual colour scheme, and try out silver.  Unfortunately I don't have the brand or the bottle in the photos, as it belonged to the salon, but in real life you can see all the little sparkles, and the coverage is so good, the silver was completely solid within just two coats! Oh, and I bought the cross knuckle ring ages ago from eBay, it's so annoying that everyone has them now!

love amy x
SHARE:

Thursday, 14 April 2011

Do you lilac it?


So the mother came back the other day with a load of new nail varnishes.  She's obsessed with them, and we have a whole door shelf in the fridge dedicated to them as we have so many.  She claims that it makes them less gloopy so they paint better.  One of the colours she brought back was 'Do you lilac it?' by OPI and it's pretty nice.  I'm not really too adventurous with nail colours because, for a start, I've been at school where nail varnish isn't allowed, so I'm used to plain nails, which of late has been converted to french manicure, since mum made me get acrylic nails to stop me from biting, cause I was reeeaally bad. For ages I've just been wearing black nail varnish, as it goes with everything and is simple and easy to wear, but recently I've been trying out new colours to be ~adventurous, and because black isn't really that much of a summery colour.  In the past few weeks/months, I've been from mint green, to pastel blue, and now to this purple.  I'm still not too sure about the colour, veering towards the black again but I'll get used to it I guess!  Sorry about the super long boring nail essay!

Anyway, I'm really excited about this coming monday because I'm going to Bournemouth beach for the day with a load of my friends!  I'll maybe post some pictures afterwards or something, haven't done any beach/sunny photography in a while so stay tuned? (:
love amy x
SHARE:
© Amy Valentine. All rights reserved.
BLOGGER TEMPLATE CREATED BY PIPDIG